top of page
ABOUT US
Admission Arrangements
Trust Key Statutory Information
Vision and Values
Trust Policies & Pupil Premium
Attendance
Careers
Exams
GDPR & Data Protection
Governors
Ofsted and Exam Results
Report Safeguarding or Bullying incident
SEND & Disability
Safeguarding
Senior Leaders
CURRICULUM
Our Curriculum & Structure
Curriculum Areas
Courses Delivered
PARENTS & CARERS
MCAS
Class Charts
Bus Information
Digital Parenting
Parent Links
Parent Letters
PHSE Noticeboard
Report Student Absence
Remote Learning
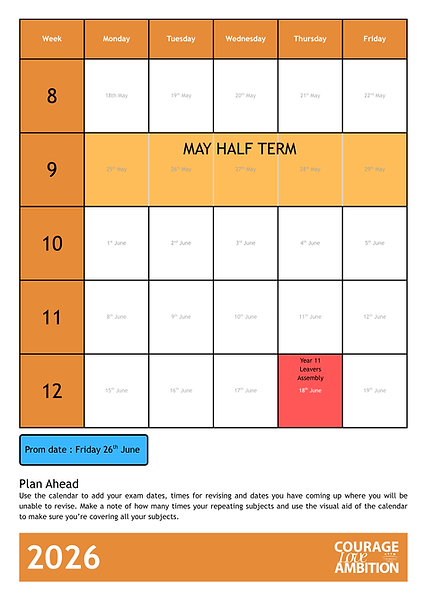
Term Dates
The Restaurant
Home Learning Expectations 25/26
Uniform & Equipment
STUDENTS
Easter Revision
Assessment Cycle
Heads of Year
Clubs Noticeboard
Health and Wellbeing sur
Personal Development Week
Information and Internet Safety
Student Links
The Library
Report Safeguarding or Bullying incident
EdClub
MyLexia
STAFF
SIXTH FORM
Welcome to Sixth Form
Our Prospectus
Bursary Information
Plymouth City Patriots
Tasks & Revision
Enrichment Programme
Level 3 Courses
Post 16 Transitions
Student Leadership
Wider Curriculum
CONTACT US
Community Sports
VACANCIES
More
Use tab to navigate through the menu items.
Easter Revision
Week 1
Week 2
Sign Up forms
English
Science
Languages
Maths - Mon
Maths - Weds
Sport
D&T
History
Revision Tricks and Tips
bottom of page